Step 1: Copy the old page to your
workspace
Open the Dreamweaver Site Manager, select
the "Skidmore web" site definition that
you created in the previous lesson. Click the connect
icon to connect to the remote site, entering your
password as needed.
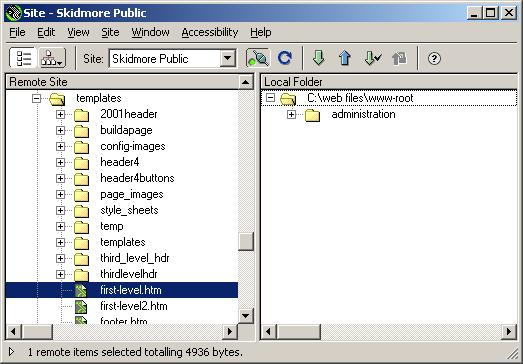
The window should look as follows:

Click the "+" buttons to open folders as
needed until you locate the existing file that you
will be updating. In this example, you would click
on "administration," followed by "counseling."
Then locate the file you wish to update and click
the download button.
Answer "Yes" if Dreamweaver asks whether
you wish to include the dependent files.

You have now created a working copy of the old Web
page on your local hard disk.
Step 2: Copy the template to your
workspace
Next, you will do the same steps to copy the template
to your local disk
On the remote site, click on "templates,"
then download the desired template.
Once more, answer "Yes" if Dreamweaver
asks whether you with to include the dependent files.
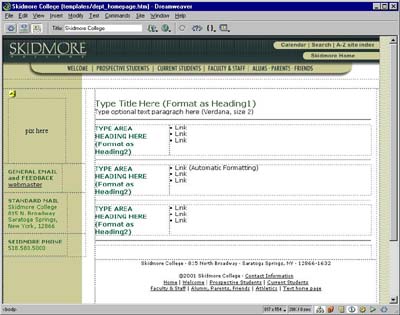
Step 3: Open the template
Now, move to the right ("Local
Folder") half of the site manager, locate the
template file that you just downloaded, and double-click
on it to open the file for editing.
Step 4: Save the template into the
department folder.
Now, move to the "File" pull-down
menu and select "Save as..."
Navigate the file browser to select the same folder
as the old page that you intend to update.
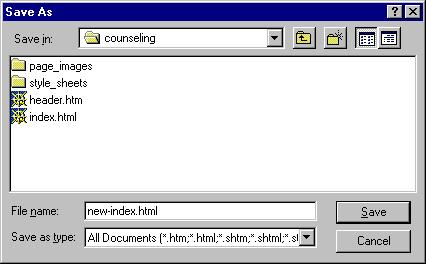
Save the template in this location,
giving it whatever permanent name you prefer.
You may now edit this newly saved file
as needed to update your departmental information.
For example, you may want to copy elements from the
old index.html file to the new one.