|
Cells, as their name
implies, are areas of the Web page that have their
content constrained. This means that any text
or pictures within that area will not interfere
or run into other cells. You may be familiar with
cells from spreadsheet programs such as Excel
or Lotus 1-2-3, where the size of the cell can
be altered both horizontally and vertically. In
Dreamweaver, these cells are used to place objects
with precise location and to create tables containing
information like names and phone numbers.
To create a table (of cells) click on Insert >
Table. A box will appear allowing you to enter
the number of columns, number of rows, and the
cell spacing. You can always modify these numbers
once the table has been created. Once you have
created this table, click on it and open the object
properties box (Modify > Selection properties).
You may also right-click on the cell or table
when the cursor changes into a double-headed arrow
to access a list of functions associated with
editing the table.
In the sample cell above, the author has used
three cells to organize his Web content. The cell
on the left contains the navigation bar, the small
cell on the right contains a picture, and the
larger cell contains text (and the smaller cell).
It is always a good idea to create a cell for
pictures. This allows you to change and update
the picture without distorting the surrounding
text.
There are a series of commands associated with
editing tables and cells. You may insert, add,
or delete columns and rows, or even resize the
cell by draging the cell's edges when the cursors
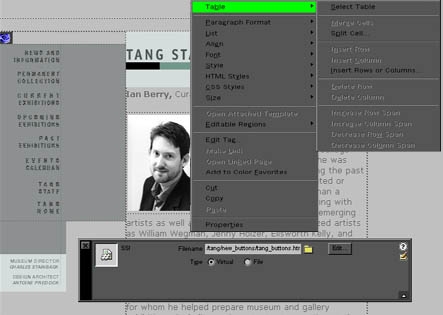
turns into a double-headed arrow. One of the less
obvious commands is to split or combine cells.
To split a cell, select the individual cell and
right-click it. Select Table > Split
cell. Now the one cell will split in half, producing
two equally sized cells. To combine (or merge)
two cells, select two cells by holding down the
Shift key on the keyboard and clicking on the
two cells that you wish to combine. Right-click
anywhere within these cells, and select Table
> Merge cells. The two cells have now been
merged into a single cell.
Tables are known as a series of cells and are
often used to provide mass information in an organized
fashion. The table below is such an example.

To create a table, click Insert > Table, and
designate the number of cells. Once the table
has been created, you can adjust the size of the
columns or rows. Select Window > Properites.
This window will also allow you to adjust the
color and borders of the table.
Please proceed to the next section ...
|