About us
Skidmore's story starts with creativity, and creative storytelling starts here.
As the protectors and promoters of Skidmore's brand — and the treasured tenet, Creative Thought Matters — Skidmore's Office of Communications and Marketing celebrates and elevates the creative work of our community. Through marketing, brand, and strategic communications, we help inspire prospective students, engage our local and campus community, re-connect alumni with their alma mater, and spark the support of fans, donors, and friends.
Meet our team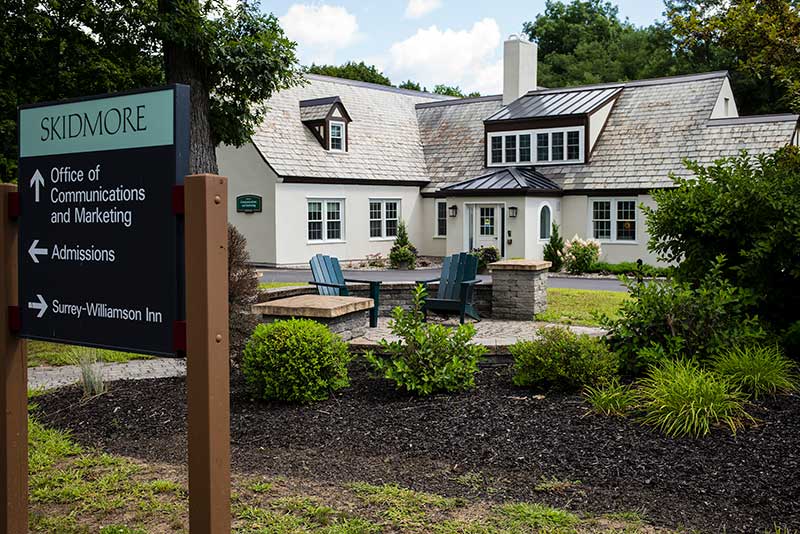
Contact us
Main Office:
518-580-5733, info@skidmore.edu
The Skidmore Shop:
518-580-5490, skidmoreshop@skidmore.edu
- Media relations: smiga@skidmore.edu
- Skidmore website: webteam@skidmore.edu
- Photography and videography: msylvia@skidmore.edu
- Social media: jmarco@skidmore.edu
- Branding: msylvia@skidmore.edu
- Skidmore Weekly Bulletin: swb@skidmore.edu
- Scope Magazine: scope@skidmore.edu
- Sports information: klancto@skidmore.edu
Awards
Capital Region MARCOM Awards (2024)
Winner, Taking a Risk on Reddit, Digital Media Campaigns
Winner – Storytelling, Scope Magazine Spread: Forging Skidmore’s Second Century
Education Digital Marketing Awards (2024)
Bronze, TikTok Campaign: Creative Thought Matters: Skidmore’s TikTok Success
Bronze, Digital Advertising: Real Results: Skidmore’s Reddit Advertising
College Sports Communicators 30 Under 30 Class of 2024
Awardee, Kyle Lancto
Read, Watch, follow
Scope Monthly is an email newsletter sent to alumni and friends. Scope Magazine is published biannually.
The Skidmore Weekly Bulletin (SWB) is a campus email newletter for announcements, reminders, and updates about Skidmore College news and events.
It is distributed weekly on Wednesday. Skidmore community members can submit announcements and events, academic lectures, and faculty-staff achievements by completing the appropriate online form. The deadline for all submissions is noon on Monday. Announcements and events are generally published for two weeks.
Communications and Marketing manages all "flagship" social media accounts as well as Skidmore Athletics and the Skidmore Shop.
Follow Skidmore College on:
Follow Skidmore Athletics on:
Follow the Skidmore Shop on: