
Uploading Files
Direct to a folder | While editing a page (images)
Related topics
Linking to uploaded files | Overwriting files
Uploading files to an existing folder
- Navigate to your "documents" or "images" folder, whichever type of file you are uploading, by clicking on it in the left column.
- Click the green Upload button near the top right of the page
- The Upload popup will load.
- Either click and drag your files from your computer to the Files area, or use the green +Add button to browse for the files.
- Click Start Upload, and your files will be uploaded into your selected folder.
- Publish
Uploading an image directly into a page
You can also upload an image directly, while you are working on the relevant text.
- Place your cursor where you would like the image to be.
- Click the Insert/Edit Image button on the toolbar.

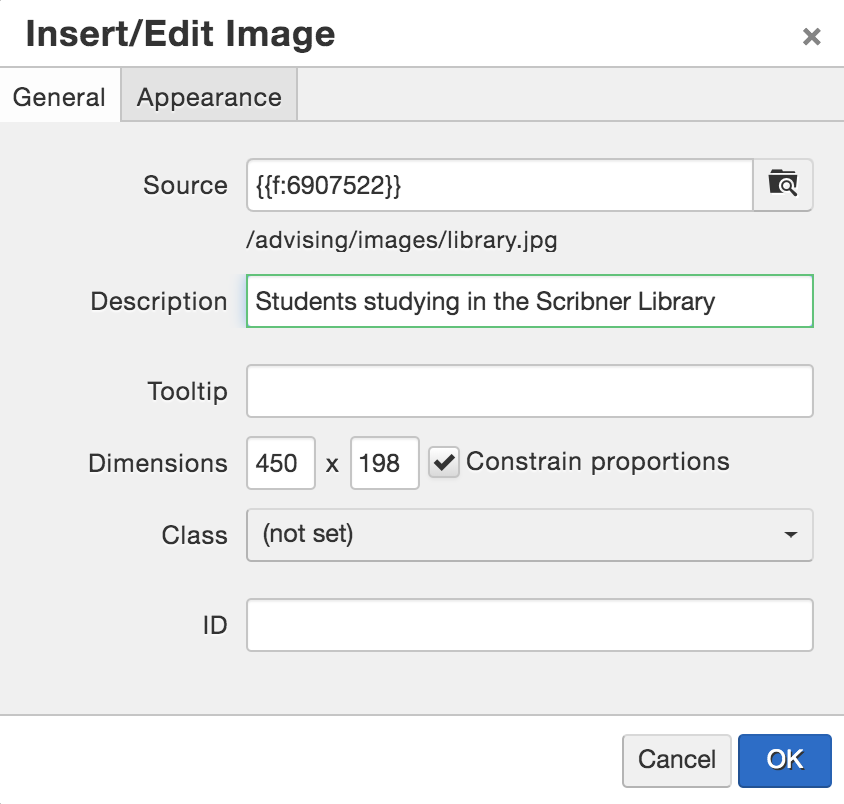
- The Insert/Edit popup has several necessary steps
- Image URL: Allows you to link to an image on the web, or click the icon after it to browse for an image to upload/use
- Image Description: Is REQUIRED, used for ADA compliance to describe the image to a sight-impaired visitor.
- Image Title: Not required, often just a copy of the description
- Click on the "browse" button to the right of the Image URL line. From here you could either use an image that is already in the system, or upload a new one. We will be uploading a new image.
- In this popup you have two options "Upload" and "Upload and Edit".
- It is always best practice to edit your image before uploading it to the web.
- Upload selects an image as-is for uploading, and is the option you should use primarily.
- Upload and Edit would allow some small adjustments to an image - cropping, for example. It does not include enlarging, sharpening, brightening, or other editing tools.
- Click Upload. You will get a "success" message when the operation is complete.
- You will then need to scroll down the list of available images to select the one that you have uploaded. Click on the file name, and then click "Select File".
- Type in a description
- Click on the Appearance tab to set any appearance options you choose (border, spacing, alignment).
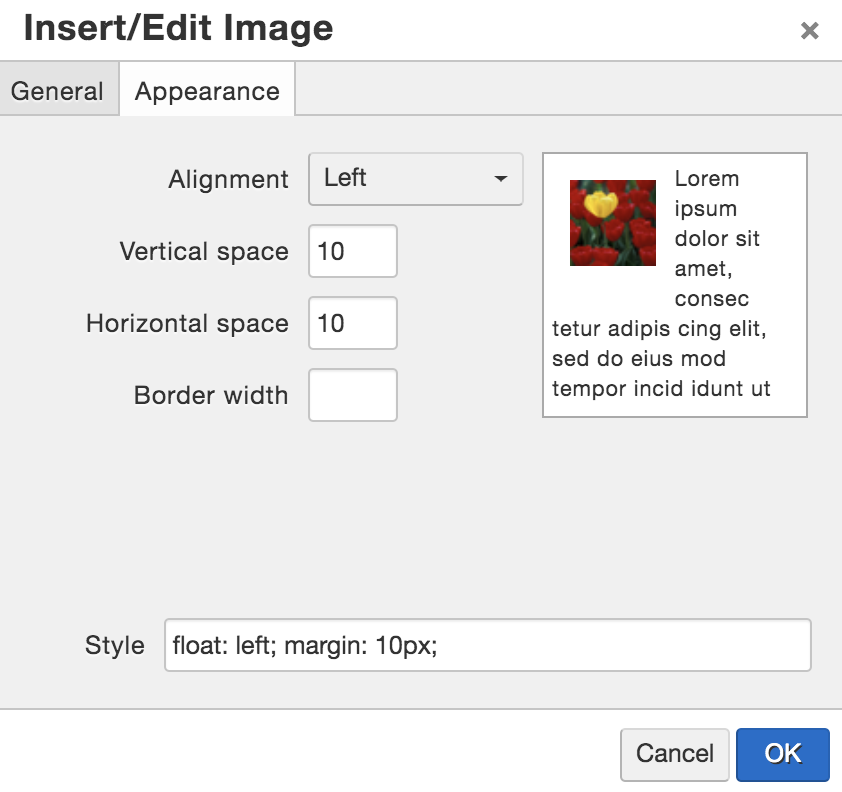
- Click OK
- Your image now appears on your page. You can click on an image and drag it to move it up and down the page. In the Preview tab, the photo will look "missing". That's beacause the photo is not published until you publish the page. (Make sure the box is checked for including dependencies).
Linking to Uploaded Files
Links are created by highlighting the text to be made into a link and clicking on the “Insert Link” icon. The “Insert Link” icon will not appear until you have highlighted text or an image!
- Highlight your text (or image) to receive the link.
- Click the Insert/Edit Link button.
- If you are linking to an outside URL (Google, Amazon, etc.) you can paste the URL into the Link URL box and click Insert at the bottom, and you're done.
- If you are linking to an uploaded document, click the Browse button to the right of the Link URL box.
- Navigate to find the (already uploaded) file that you want to link to. You can click through the folder structure in the left column, or use the breadcrumb links above the folder structure to navigate.
- When you find the file, click on it, and then click "Select File" at the bottom of the popup.
- The next popup will be for filling out the properties of the link.
- Anchors: Only used when making anchor/link pairs
- Target:Where the link will open.
- When you're linking to something within the Skidmore site, the link usually should open in the same window. The exception often is for PDFs.
- When you're linking to something outside of your own site, or outside of Skidmore, the page should open in a new window.
- Title: A navigation title for your link. This field is REQUIRED, as it is used for ADA compliance by screen readers for the visually impaired.
- Class: Only used for links in your site's LEFT navigation
- Click "Insert"