
Alternating Background Snippet
The instructions below will guide you to put the Alternating Background Snippet into an OU page. A login and basic familiarity with OU Campus is required in order to follow the instructions. If you do not have a login or are not familiar enough with OU Campus where feel comfortable yet, please contact a member of the web team within The Office of Marketing and Communications.
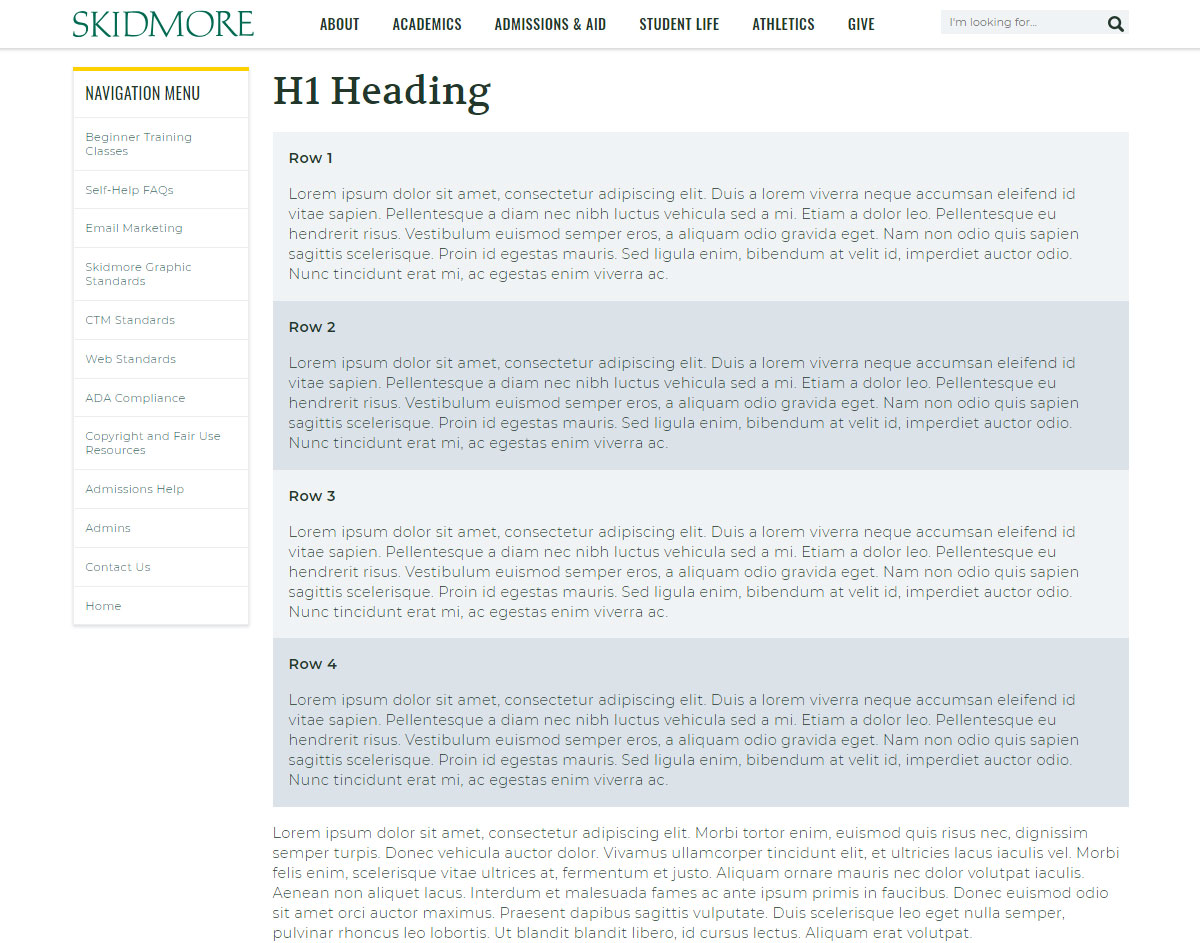
Examples
Currently the Alternating Background Snippet has two options to display. Alternating between white and light grey. And also alternating between light grey and dark grey.

Add Alternating Background Snippet
Step 1
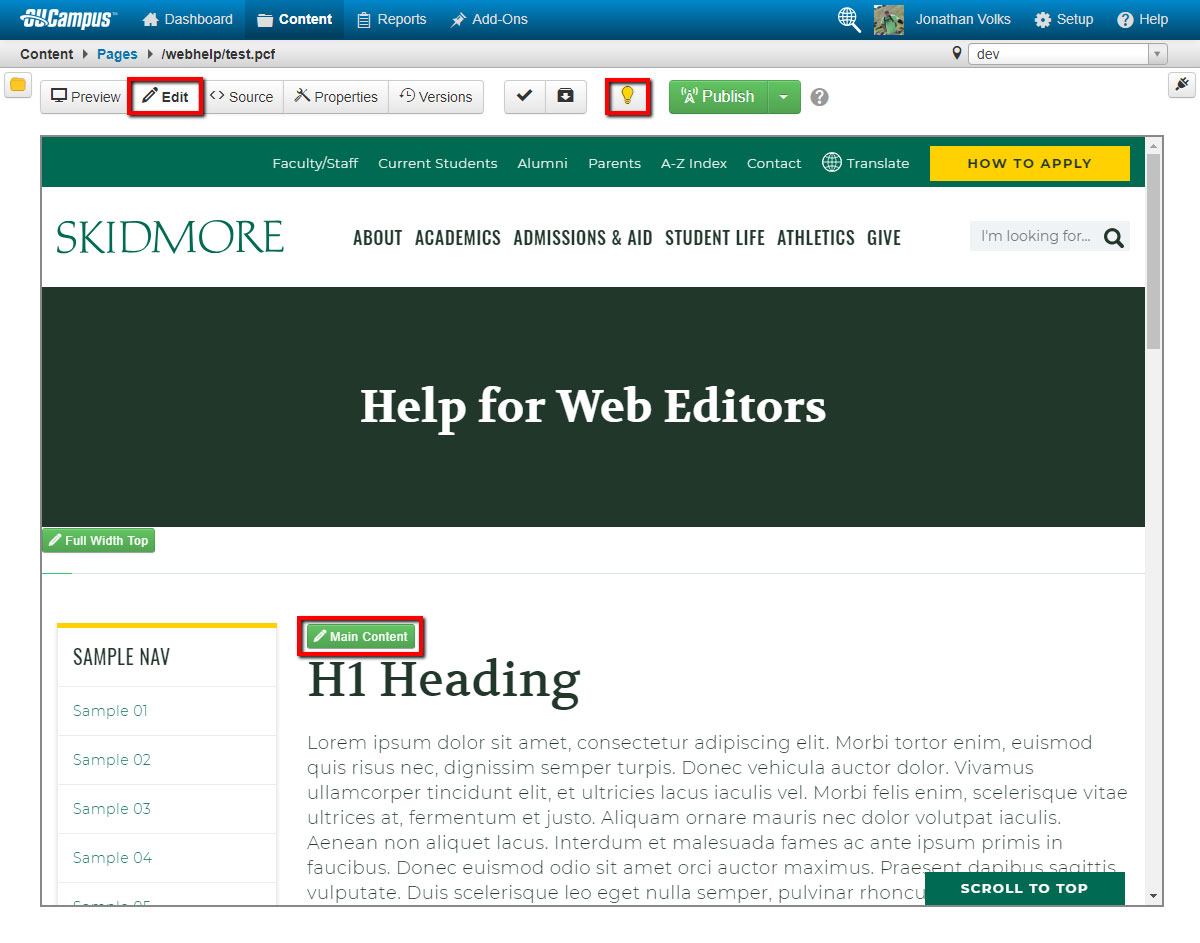
Log into OU Campus and navigate to the page that you would like to add the snippet to. Check out the page and begin editing it.
Step 2
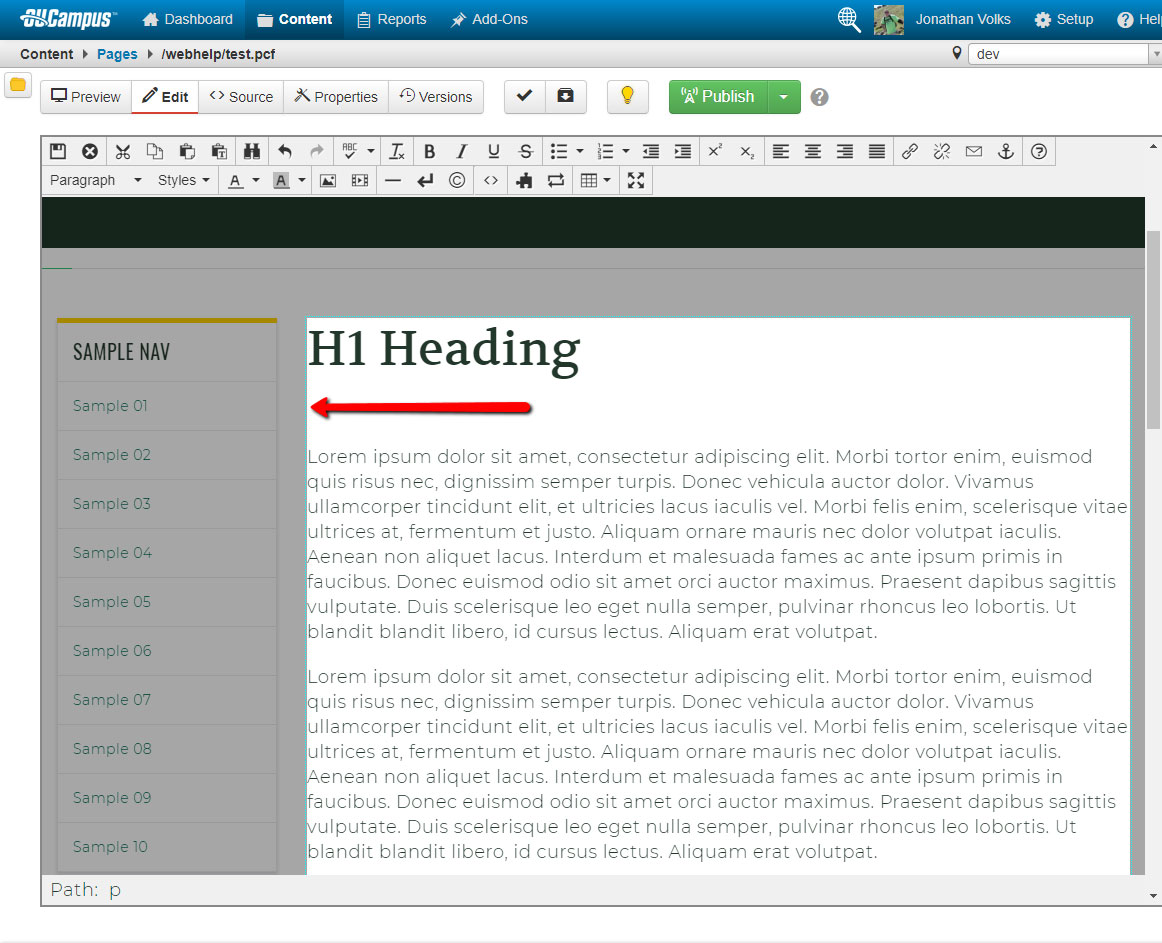
Find the spot on the page where you would like to put the snippet. Make sure this is on a new line by itself.
Step 3
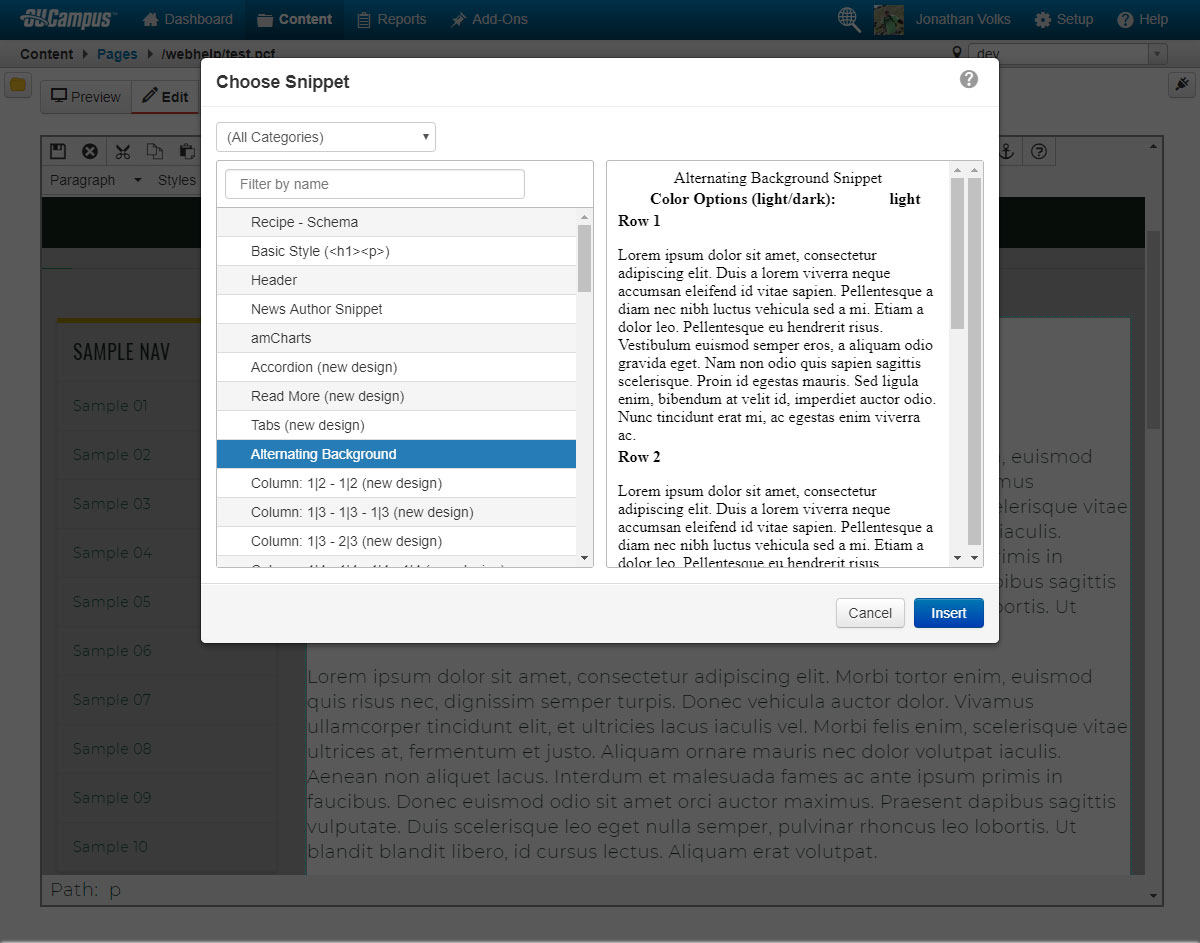
Go to the editor toolbar and select the Snippets icon. Find and click on the Alternating Background Snippet. Then insert it. Note that the preview may look odd. This is okay.
Step 4
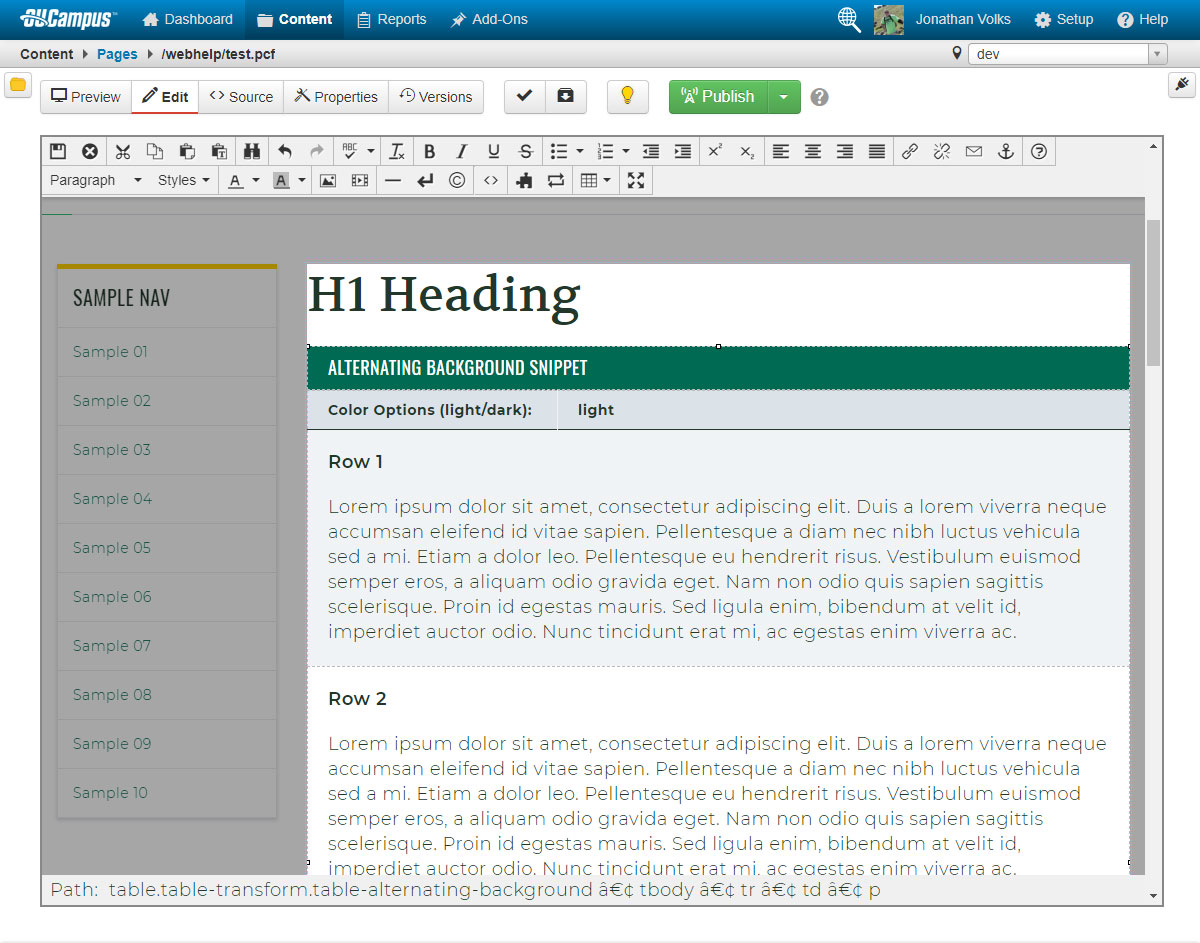
A table will be inserted into the page with one configuration option and four rows with default text. The one configuration option can either be light or dark.
- Light is alternating backgrounds of light grey and white.
- Dark is alternating backgrounds of light grey and dark grey.
Note: make sure there are no spaces in front or in back of the the value you put in. By default it will always show up light.
Step 5
To add a row, right-click on an already existing content block within the table. Go to Row and then Insert Row Before or Insert Row After depending on where you want to put it. DO NOT right click on the configuration row or the title of the table, ONLY on an existing content block.
To remove a row, right-click on the row you want to remove and then go to Row -> Delete Row. The row will be removed.
Note: Changing any properties of the table will NOT be reflected when the page is published. This table is only presented to make the editing the content simple for the user.

Step 6
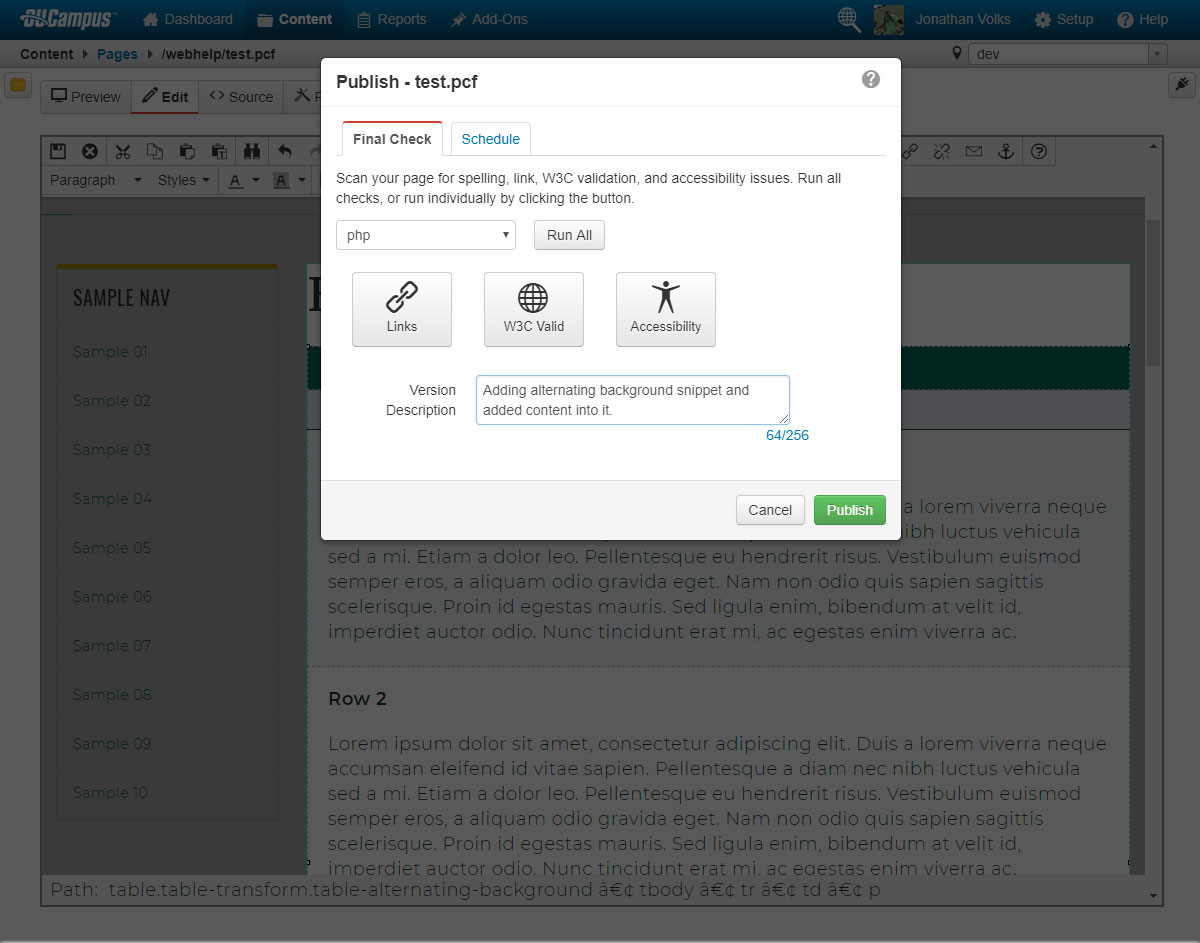
When you are finished addiing the content that you would like. Save, preview and publish. Before you publish, please be sure to make any notes that you made to the page. Also triple check that everything is spelled correctly and linked correctly. This is important.
Frequently Asked Questions
The field where you put the work dark. Make sure there is no spaces before and after it. Also make sure that there is no text formatting around it like bold or italics.
Not currently. If you want to suggest two alternating colors, please contact a member of the web team and we will take it under consideration. There are a few things to consider when adding more colors such as brand guidelines and ADA compliance.
Developers / Programmers Notes: |
|
|---|---|
| CSS | /_resources/css/kraken-snippets.css |
| JavaScript | None |
| Third Party Libraries | None |
| Table Transformation | Yes |
| XSL Location | /_resources/xsl/_shared/snippets.xsl |
| Date Created | 2018.08.23 |
| Last Audit/Update | 2018.08.23 |