Proxy (Student) Instructions
Proxy Access allows you (the student) to authorize a parent or legal guardian with a valid e-mail address online access to your academic record, financial aid and student account information. Each Proxy Profile (parent/guardian) must have a unique e-mail address; there cannot be multiple proxy users attached to one e-mail address.
CREATING A PROXY
Students must access their skidmore.okta.com app dashboard and click on the Student System tile. Once in Student Self-Service, select Students
and then "Proxy Access Management" tile. 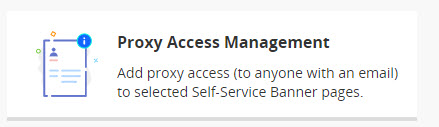
Click Add New.

Complete the proxy’s profile (First Name, Last Name. E-Mail and Verify E-Mail). From the Relationship drop-down list, choose the appropriate relationship type. Confirm the Start and Stop Dates. The Start Date will default to the date you create your proxy. Change the Stop Date to the date on which you would like to cut off access to your student records to the proxy. [It is recommended that you update the Stop Date to a date beyond your expected graduation date if you would like to give access for the entire timeframe you will be a student at Skidmore College without having to go in and re-authorize your proxies.] Enter proxy Description (optional).

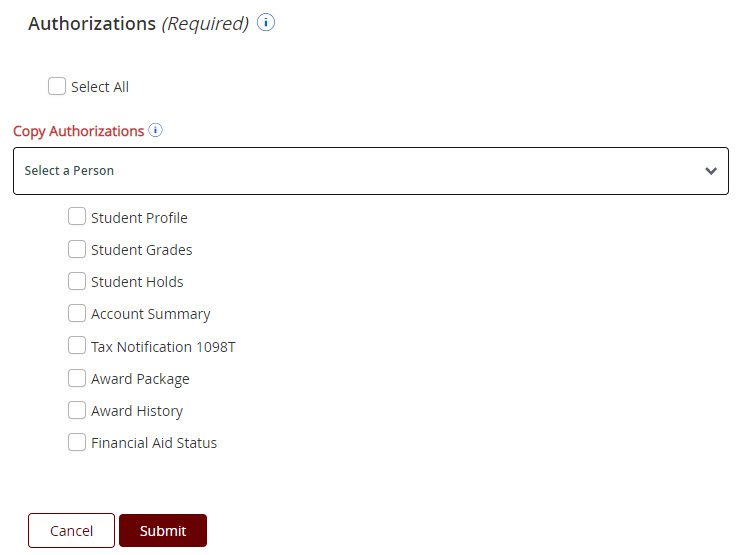
Once you have filled in the above information the Authorizations list will display (see below). You can either check the Select All box or individually grant access to the page(s) you wish to authorize for your Proxy. Once you have made you have made your selections, select Submit.
Once you have at least one proxy established, you have the option to Copy Authorizations from one Proxy as you create others or authorize others. To do this, create the new Proxy (or go into the one you haven’t authorized pages to yet) and use the Copy Authorizations dropdown to select the established Proxy whose authorizations you want to copy for the additional Proxy.
Once you have submitted, you will see a message in the upper right-hand corner letting
you know your proxy has been created. 
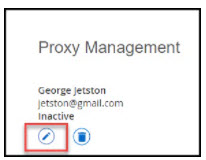
Once the proxy has been created, the proxy will be listed on your Proxy Management page. You can select the pencil icon to enter their record and edit any information you would like, including their relationship to you, the start and stop dates, and the assigned authorizations.
Your proxy will be emailed a notification that you have designated them as a proxy. If it is their first time as a proxy at Skidmore College, they will also be sent an email instructing them on how to set up their proxy account. They will see what screens you have given them access to once they log in to the system. You will be copied on these emails so that you will know what they received in case if they need help.
To Delete a proxy, you would select the Trashcan icon. Your proxy will be emailed a notification that you have deleted them as a proxy.
QUESTIONS
Questions regarding Proxy Access may be directed to tblair@skidmore.edu.